The Get started learning path sequences your first-week setup: the platform, branding, accounts, your team, and getting paid.
How do I brand the platform as my own?
To brand Vendasta as your own, go to Administration → Partner Branding in Partner Center to set your company name, logo, favicon, and primary color. Then rename Business App and add a custom domain in Customize Business App → Branding.
Vendasta is a white-label platform, meaning you can brand it entirely as your own with no mention of Vendasta. Before you add any clients or send anything to customers, this is the first thing to set up. Everything your clients see (Business App, email campaigns, invoices, notifications) will carry your brand.
This guide walks you through the core branding setup from start to finish.
Some white-labeling features, such as custom domains, are only available on certain plans. View plan details
Getting Started Checklist
- Set up Partner Branding: your company name, logo, colors, and icons
- Customize Business App: rename the app, add a custom domain, configure the web chat footer
- Control what clients see: show or hide pages in Business App
- Set up market-specific branding (optional): different branding per customer segment
Step 1: Set up Partner Branding
Partner Branding controls how your business is represented across the platform, in client-facing emails, and in Business App.
Navigate to Partner Center → Administration → Partner Branding.
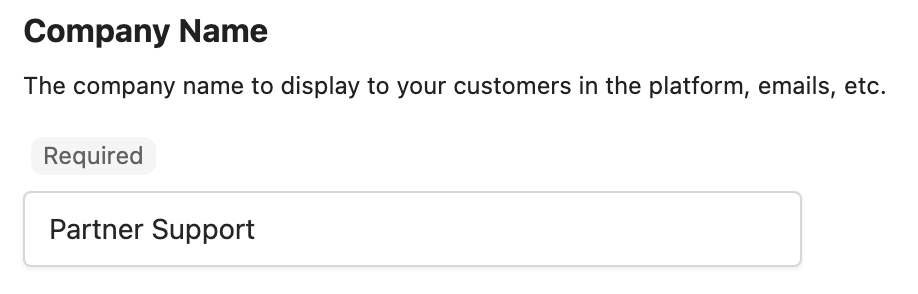
Company name
This is your brand name as it appears to clients throughout the platform, in emails, and in notifications.
- In the Company Name field, enter your business name exactly as you want clients to see it.
- Click Save.
Use the name your clients already know you by. This will appear in email headers, login pages, and anywhere the platform references your agency.
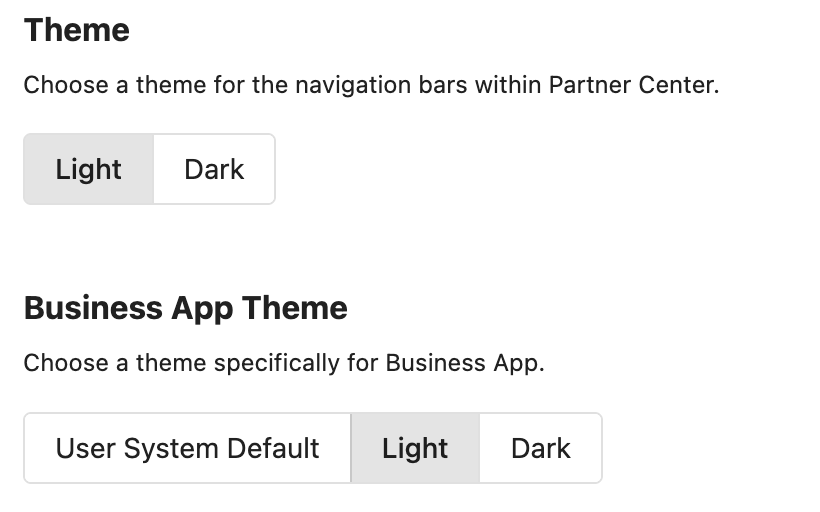
Theme
The Theme setting controls the light or dark appearance of Partner Center navigation for your team (not for clients).
- Under Theme, select Light or Dark based on your preference.
- For your clients' Business App experience, set the Business App Theme. We recommend User System Default, which respects each client's device setting.
Logo
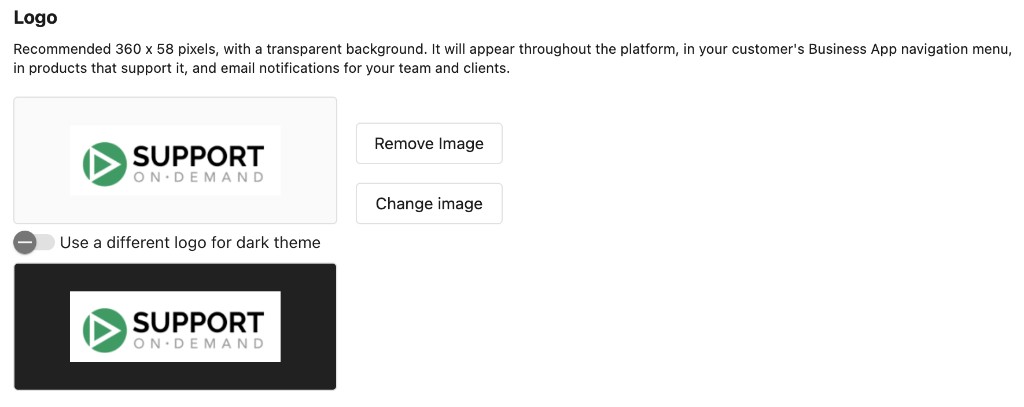
Your logo appears in Business App, outgoing email campaigns, and other client-facing areas. Upload one version for light mode and one for dark mode so it looks sharp in either context.
- In the Logo section, click the upload area for Light mode logo and upload your logo file.
- If you have a version suited to dark backgrounds, upload it under Dark mode logo as well.
- Click Save.
File recommendations:
- Format: PNG with a transparent background
- Resolution: High-resolution for clear display across devices
Company avatar / shortcut icon
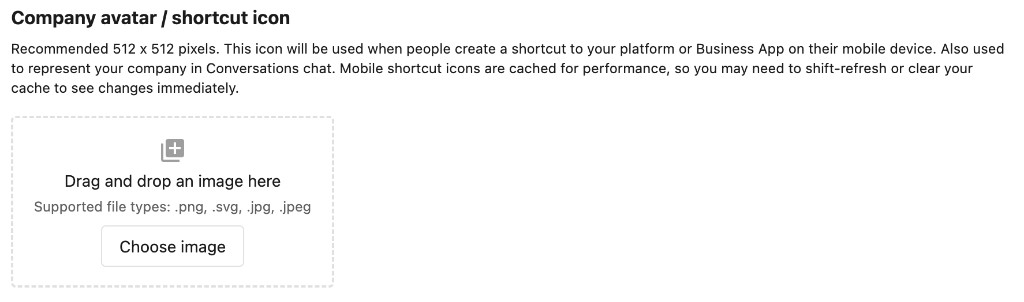
The shortcut icon appears when a client saves Business App to their phone's home screen, and is also used to represent your company in Inbox chat.
- In the Company Avatar section, upload a square image.
- Click Save.
File requirements:
- Format: GIF, JPG, or PNG
- Recommended size: 512 x 512 pixels
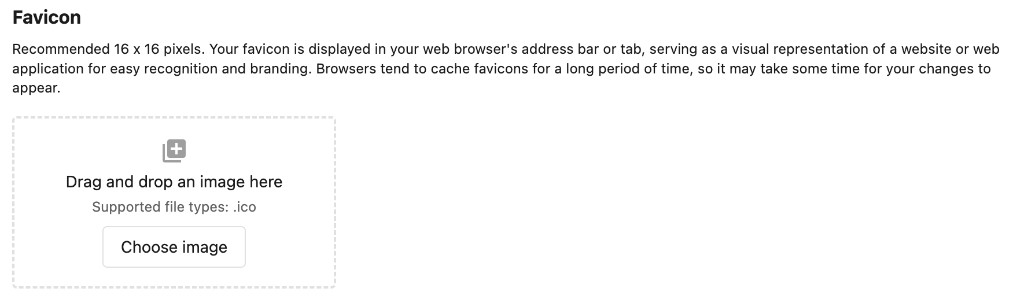
Favicon
A favicon is the small icon that appears in the browser tab when clients have Business App open. It's a small but professional touch.
- In the Favicon section, upload your favicon file.
- Click Save.
Favicons must be ICO files only (e.g., favicon.ico). PNG and JPG files will not upload. Use an online converter if you only have a PNG version.
Primary color
Your brand color is used as an accent throughout the platform and in some client emails. This keeps your visual identity consistent everywhere.
- In the Primary Color field, enter your brand's hex color code (e.g.,
#1A73E8) or use the color picker. - Click Save.

Learn more about Partner Branding
Step 2: Customize Business App
Business App is where your clients log in to access their products, reports, and communications. These settings let you rename it, add your own domain, and control footer branding on chat widgets.
Navigate to Partner Center → Accounts → Manage Business App → Customize Business App → Branding.
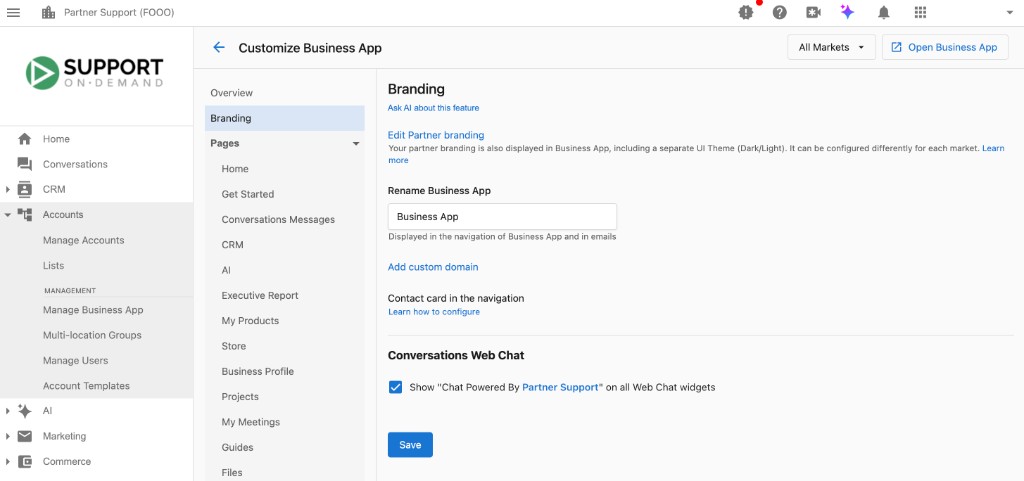
Rename Business App
By default, your clients' portal is called "Business App." You can rename it to anything that fits your brand, for example: ClientHub, Growth Portal, or [Your Agency] Dashboard.
- Find the Rename Business App field.
- Enter your preferred name.
- Click Save.
This name will appear in the Business App navigation, in emails sent to clients, and in onboarding messages.
Keep the name short. Two to three words works best across all device sizes. Avoid special characters.
Add a custom domain
A custom domain lets clients access Business App from your own branded URL (e.g., app.youragency.com) instead of a default Vendasta URL.
Custom domain setup is available on select plans. View plan details
- In the Branding section, click Add custom domain.
- Follow the domain configuration steps.
Learn more about custom domain setup
Web chat footer branding
If your clients use Vendasta's web chat widget on their websites, you can enable a footer that reads "Chat Powered By [Your Agency Name]", linking back to your website. This creates backlink SEO value and drives new leads.
- Scroll to the Conversations Web Chat section.
- Toggle the checkbox to enable or disable the footer.
- Click Save.
Your agency name and website URL are pulled from your Company Profile. Make sure those are filled in before enabling this.
Learn more about Customize Business App
Step 3: Control what clients see
You can choose exactly which pages and features are visible to clients when they log in to Business App. Hiding pages removes them from the client's navigation without disabling the underlying feature.
Navigate to Partner Center → Accounts → Manage Business App → Customize Business App → Pages.
Recommended starting point
When you're just getting set up, start by thinking about what you're actually offering clients. Here's a quick guide:
| Page | Show it when... | Hide it when... |
|---|---|---|
| Home | Always, it's the main dashboard | N/A |
| Get Started | Onboarding new clients | Clients are fully set up |
| My Products | Clients manage or browse their own products | You manage everything for them |
| Store | You want clients to self-serve and purchase | All purchases go through your team |
| Inbox / Messages | You want clients to message you | You prefer to initiate all contact |
| Executive Report | Clients want performance analytics | N/A |
| Projects | You deliver project-based services (e.g. website builds) | You don't use fulfillment workflows |
| Invoices | Clients manage their own billing | You handle billing externally |
How to show or hide a page
- Select the page from the left sidebar (e.g., Home, Store, Inbox).
- Toggle Show this page on or off.
- Click Save.
Page visibility is set at the partner level (applies to all clients) or per market (applies to a specific segment). To configure per-market, use the market selector dropdown at the top of the page.
Learn more about page visibility settings
Step 4: Market-specific branding (optional)
If you serve distinct client segments, for example different industries, regions, or tiers, you can set up separate markets and apply unique branding to each. This means different logos, colors, and even a different company name per market.
By default, your Partner Branding settings apply to all markets. To customize a specific market:
- Go to
Partner Center→Administration→Partner branding. - Click the All Markets dropdown in the top right.
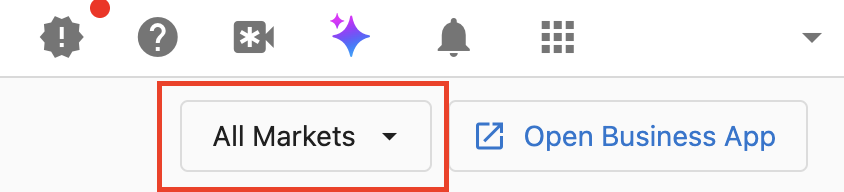
- Select the market you want to customize.
- Make your branding changes and save.
If a market has been customized separately, changes made at the Partner Branding (All Markets) level may not override it. Always check individual market settings if something doesn't look right.
Frequently asked questions
How do I rename Business App for my clients?
Go to Partner Center → Accounts → Manage Business App → Customize Business App → Branding, enter a name in the Rename Business App field, and click Save. The name appears in the navigation, client emails, and onboarding messages.
How do I add a custom domain for Business App?
In Customize Business App → Branding, click Add custom domain and follow the domain configuration steps. Custom domains are available on select plans.
How do I hide a page from my clients in Business App?
In Customize Business App, select the page from the left sidebar, toggle Show this page off, and click Save. You can set this for all clients or for a specific market.
How do I add "Chat Powered By" my agency to the web chat widget?
In Customize Business App → Branding, scroll to Conversations Web Chat, enable the footer checkbox, and click Save. The footer links back to your website.