How do I create or update a CRM contact using Zapier?
The Vendasta app in Zapier lets you create or update a contact in the Vendasta CRM whenever a trigger event happens in a third-party app. You choose a trigger, select the Vendasta app's create or update contact action, sign in, and map the contact fields.
You can select any third-party system available in Zapier as a trigger, which initiates an action in the Vendasta CRM.
Step 1: How do I select the trigger?
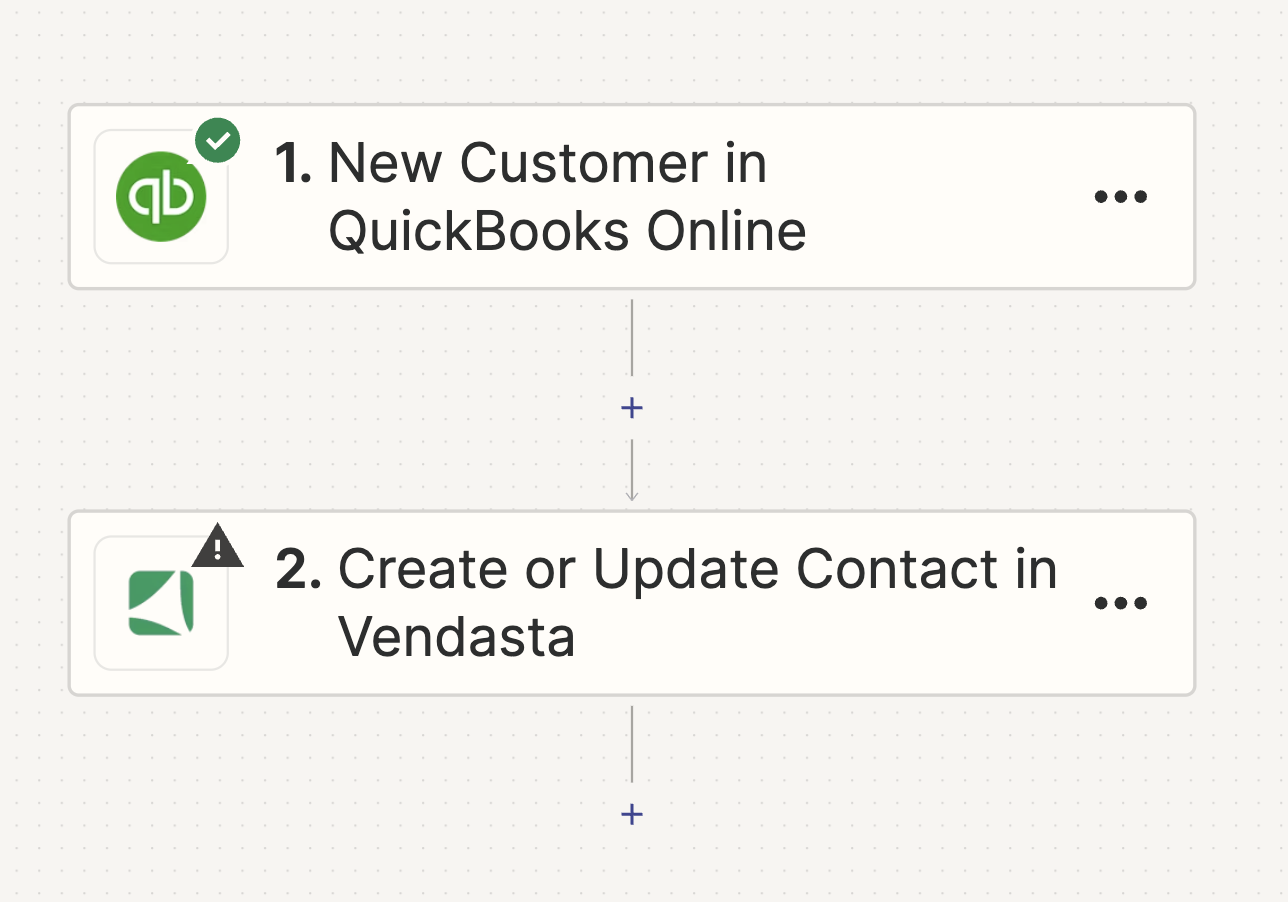
In this step, you can select the trigger that initiates an action in your workflow. As an example, a New Customer in Quickbooks Online can be used as a trigger, however, you can choose from various other triggers available in Zapier.
Step 2: How do I choose the action app?
After selecting the trigger, you'll need to choose the app that will carry out your desired action. In this scenario, that app would be the Vendasta App. This means that whenever a New Customer is added in Quickbooks online, an action would be executed in the Vendasta CRM. As part of the Vendasta App in Zapier various actions are possible.
Step 3: How do I select the create or update action?
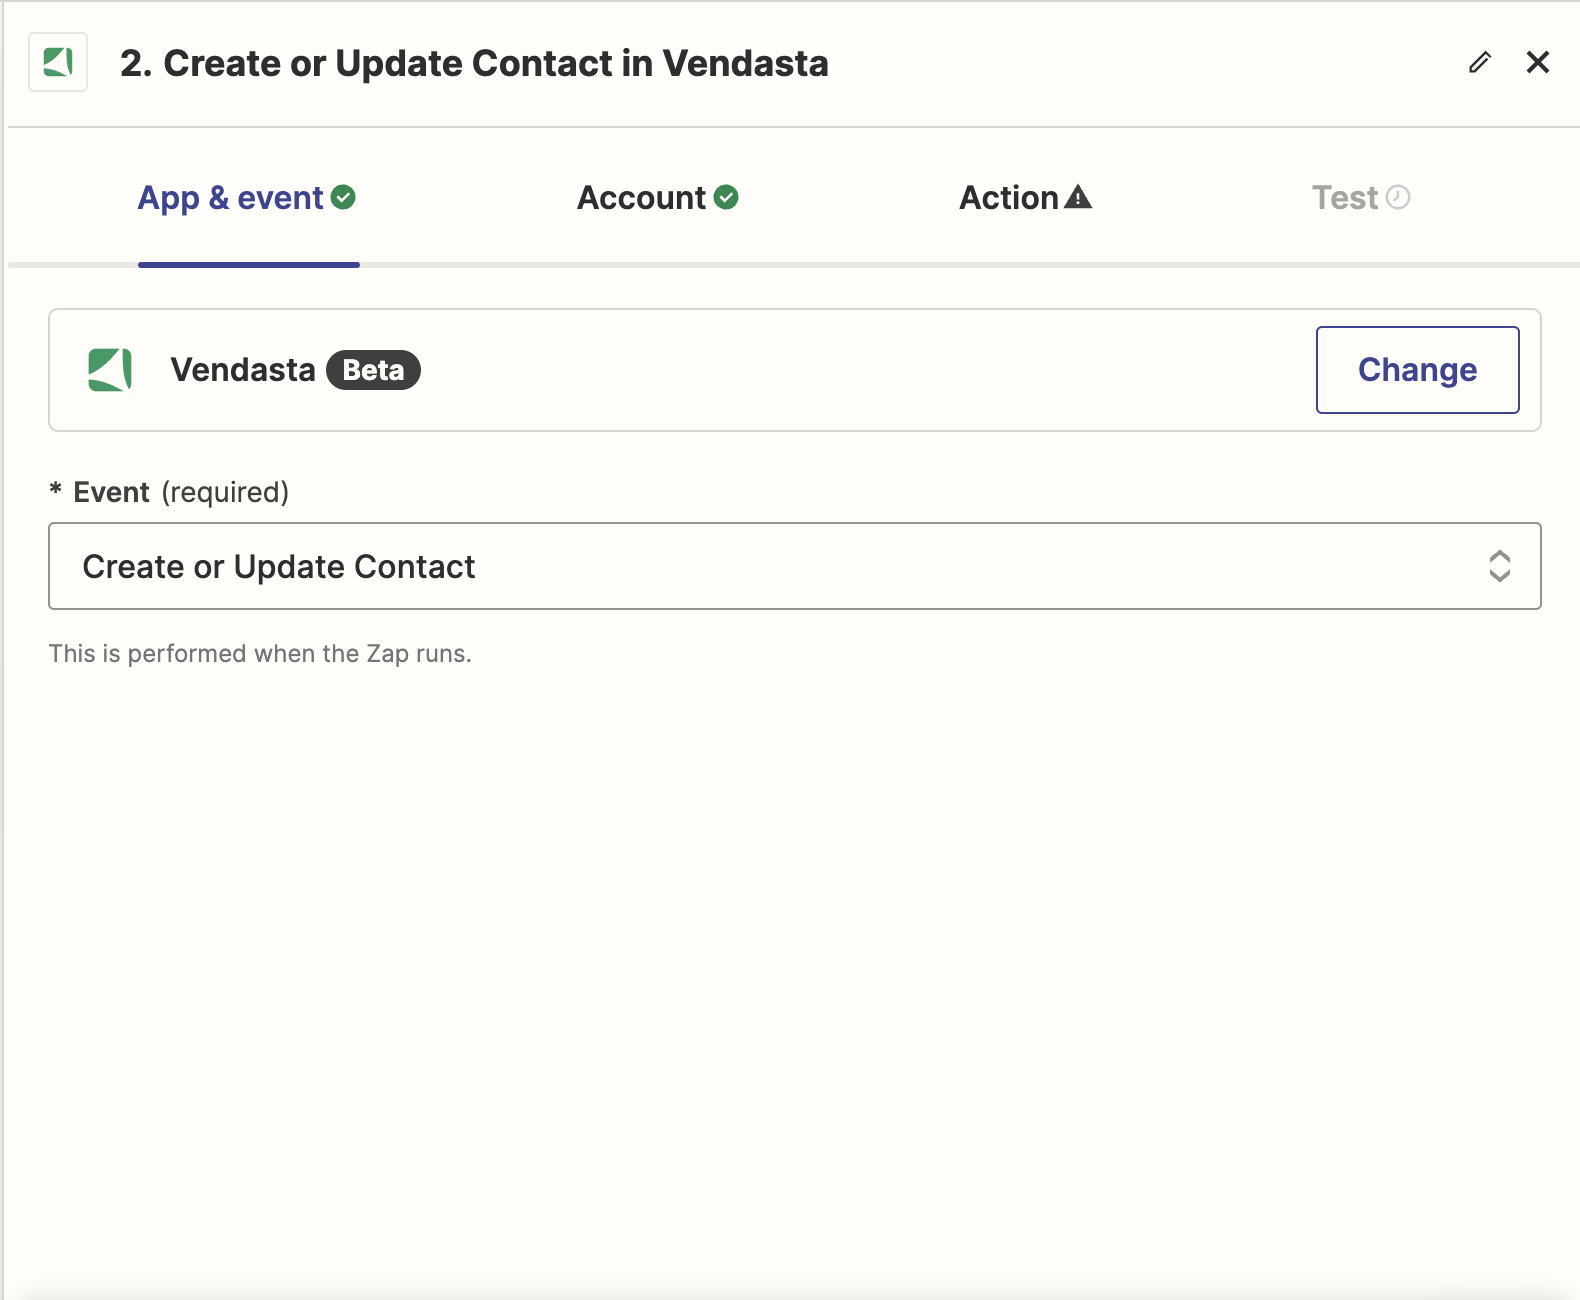
In this step, you'll set the action to be performed when the trigger event happens. For this scenario, the action is to create or update a contact in the Vendasta CRM.
Remember, you can change the action anytime by clicking on the dropdown menu and choosing a different option. After selecting the action, click Continue to proceed to the next step.
Step 4: How do I sign in to my Vendasta account?
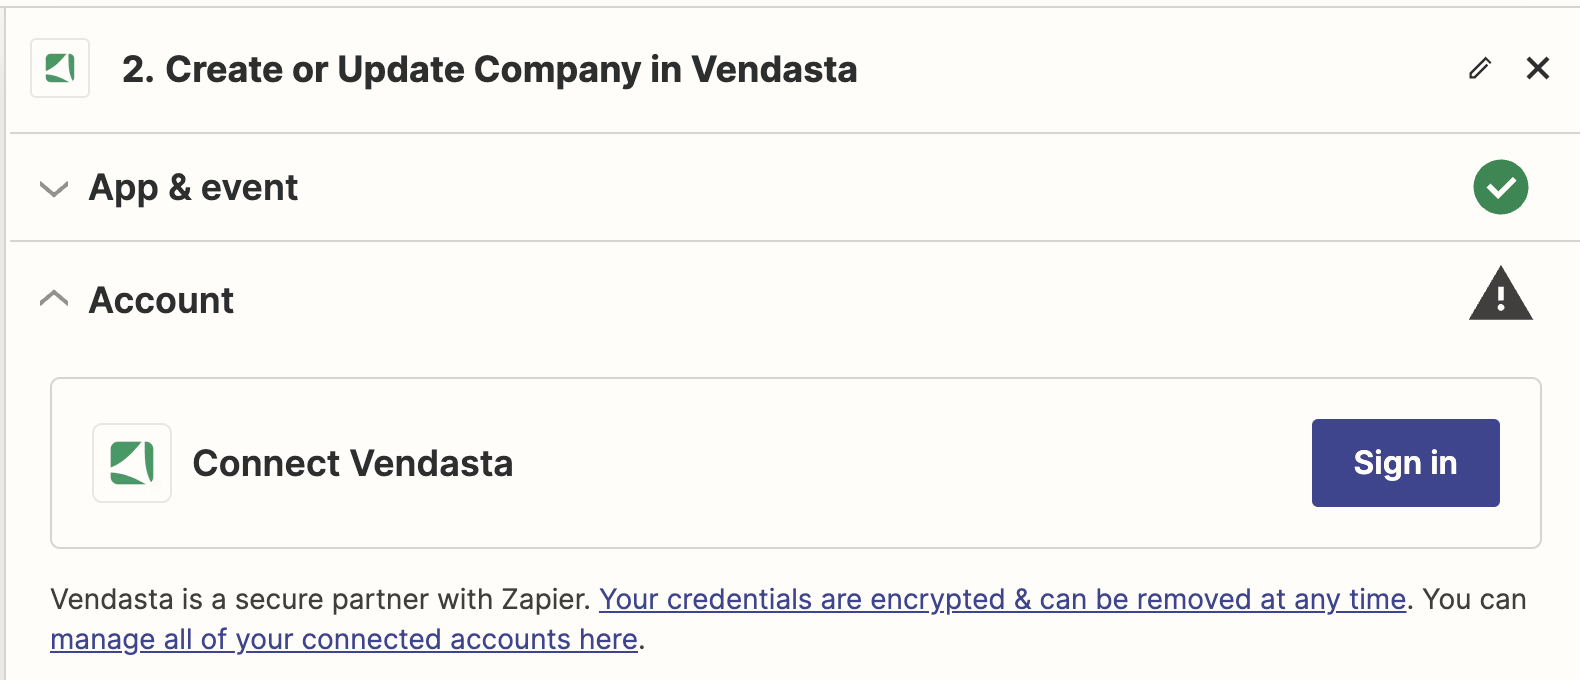
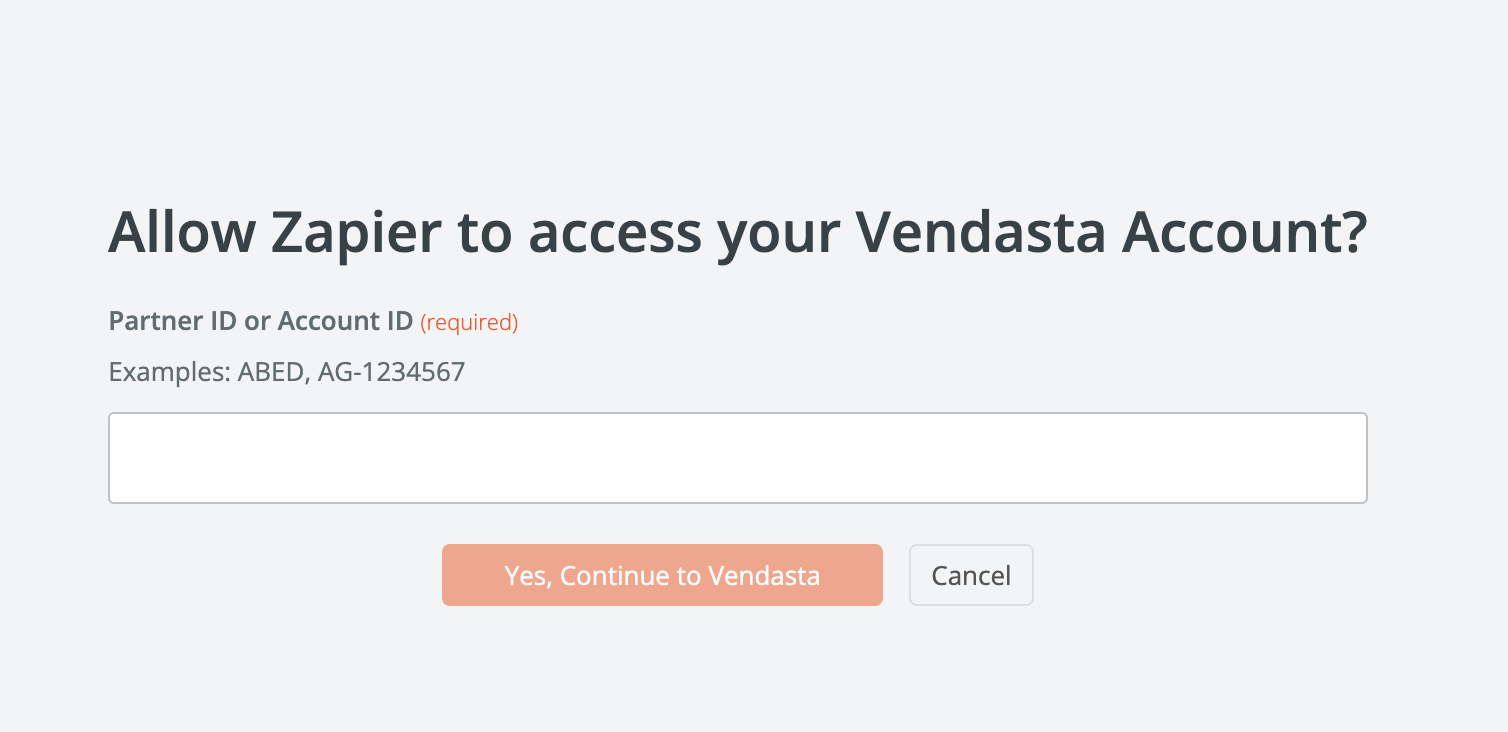
In this step, you'll connect your Vendasta account. Click on Sign in to be redirected to the login page. Here, you'll enter your Partner ID or the Account ID of the SMB you're setting up Zapier for and grant the necessary permissions. After this, you'll be automatically redirected back to Zapier.
You only need to complete this process once. In the future, you'll be automatically signed into your account when using the Vendasta App.
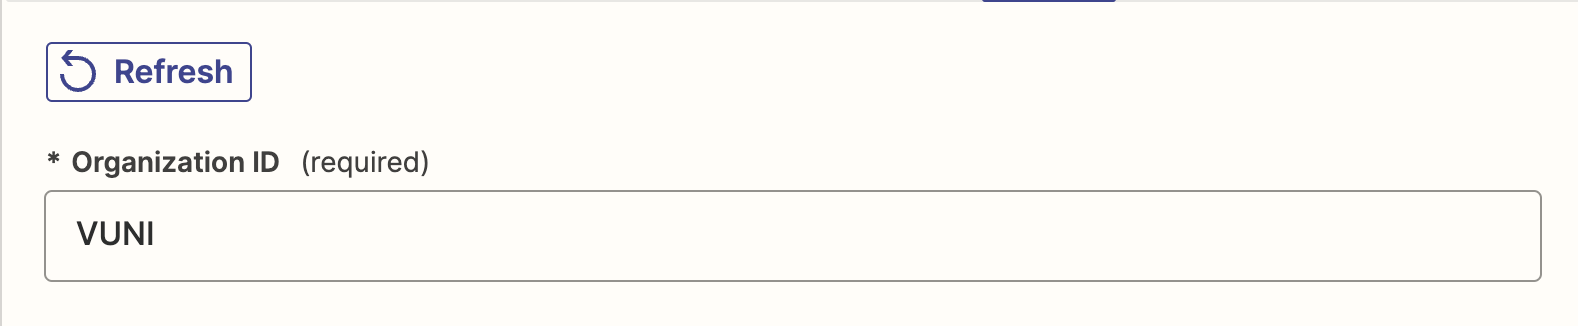
Step 5: How do I enter the organization ID?
In this step, you will need to enter the Organization ID, which is a mandatory field. This ID is automatically populated based on the Account ID you used when signing in.
Step 6: Which search fields should I fill in?
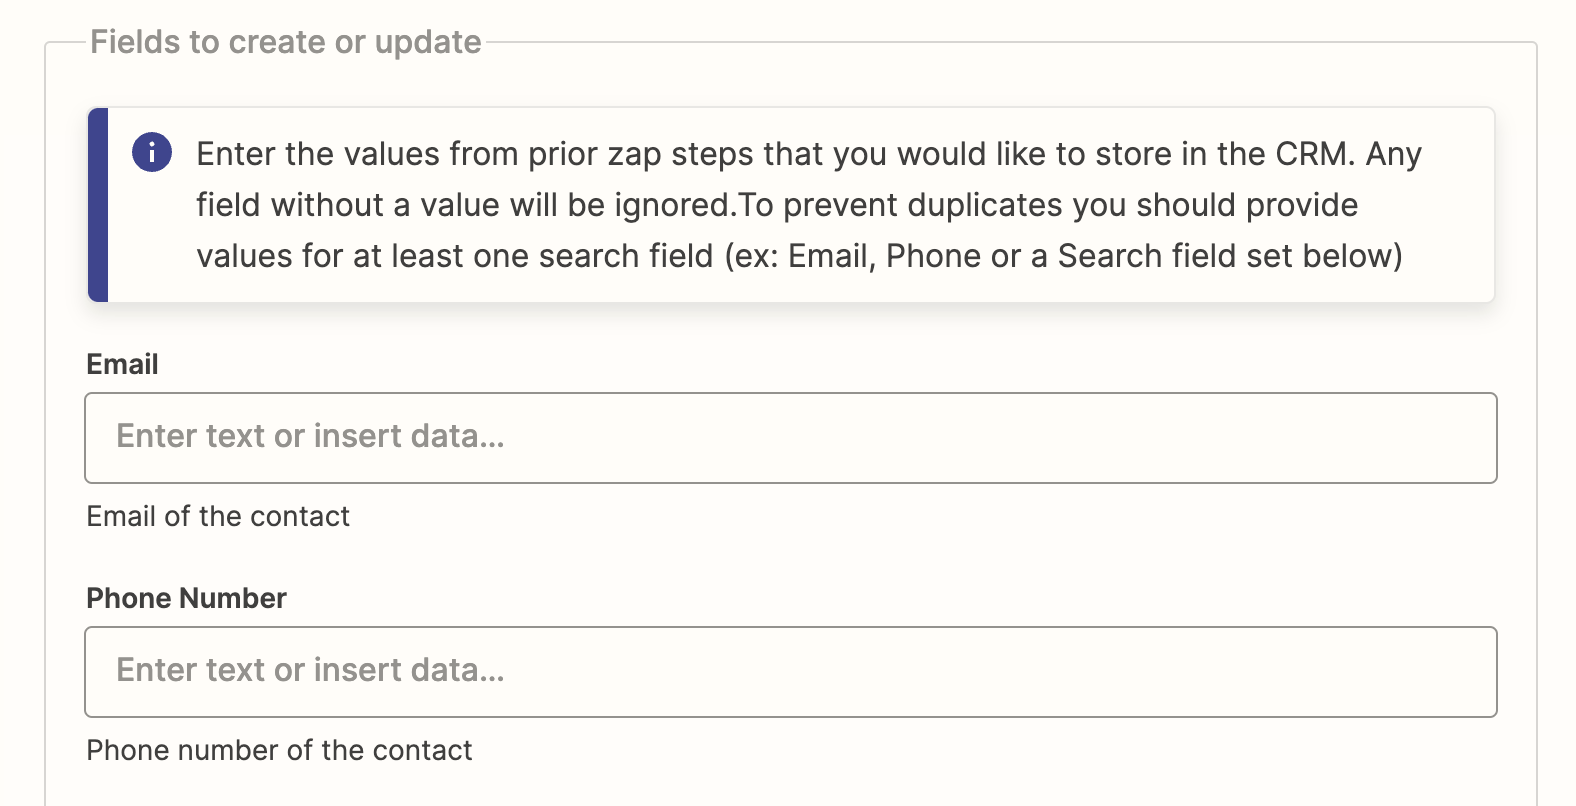
In the Fields to Create or Update section, you can input values for the fields you want to create or update. These values can be taken from previous steps in Zapier.
To avoid creating duplicate entries, make sure to provide values for at least one search field. This could be the Email or Phone Number fields, which are provided by default, or any other search field that you can set up in the Advanced section.
Step 7: How do I fill in the standard fields?
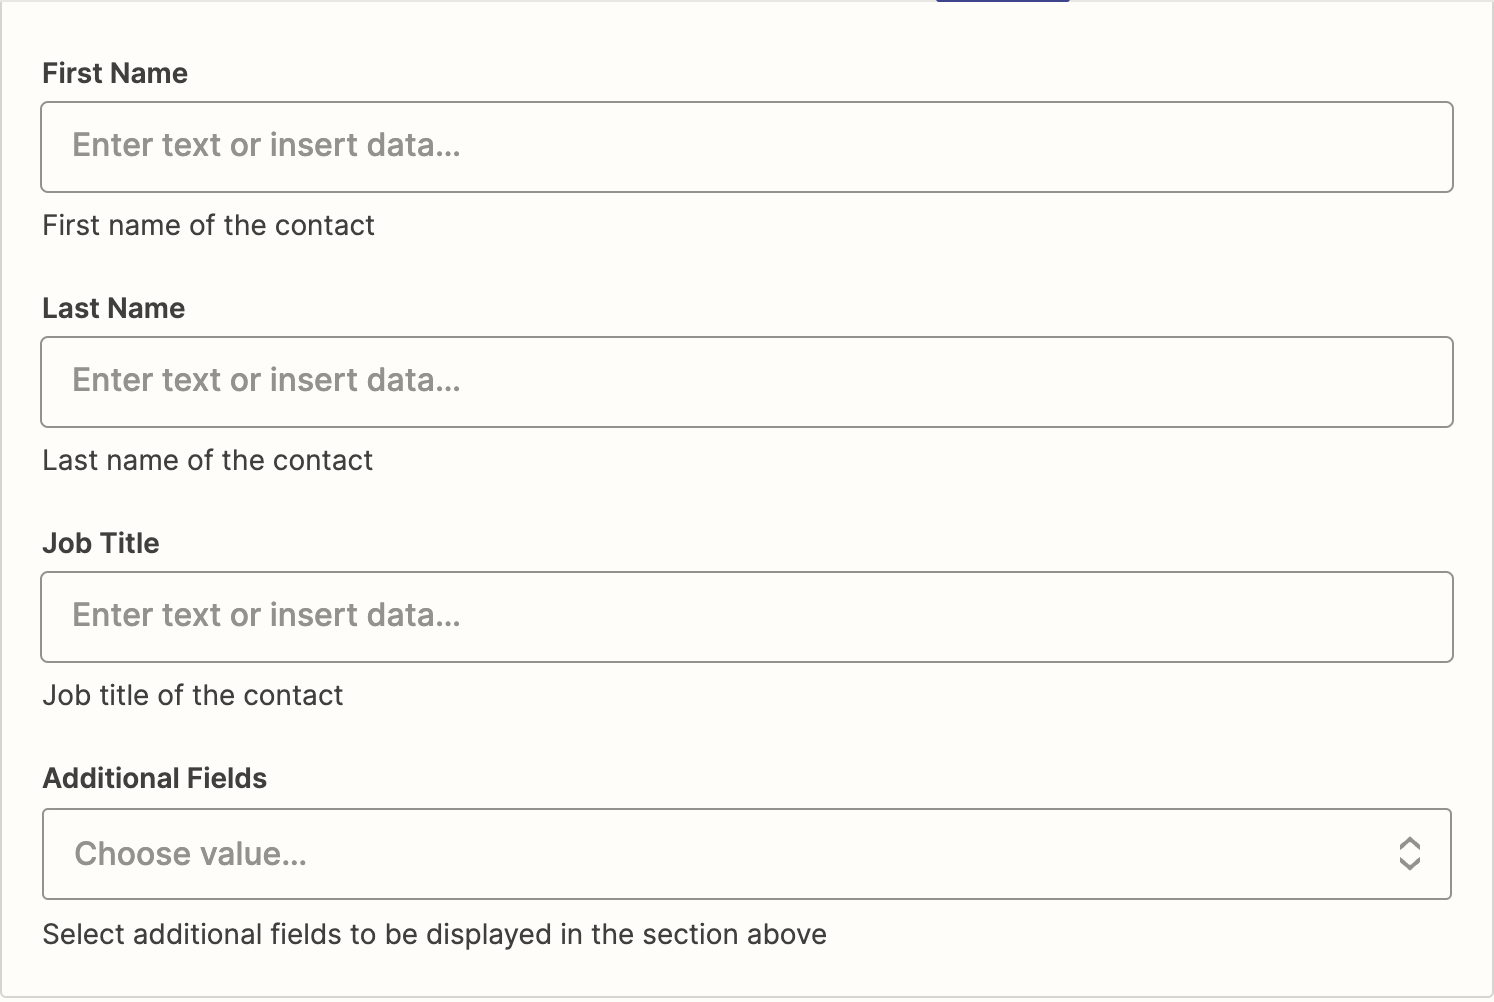
This section includes a set of standard fields that you can use when creating or updating a Contact. You can populate these fields with values from previous steps in Zapier.
You'll also find an Additional Fields dropdown. Use this to add more fields to the Fields to Create or Update section. Once added, you can provide values to these fields.
Step 8: How do I add more search fields?
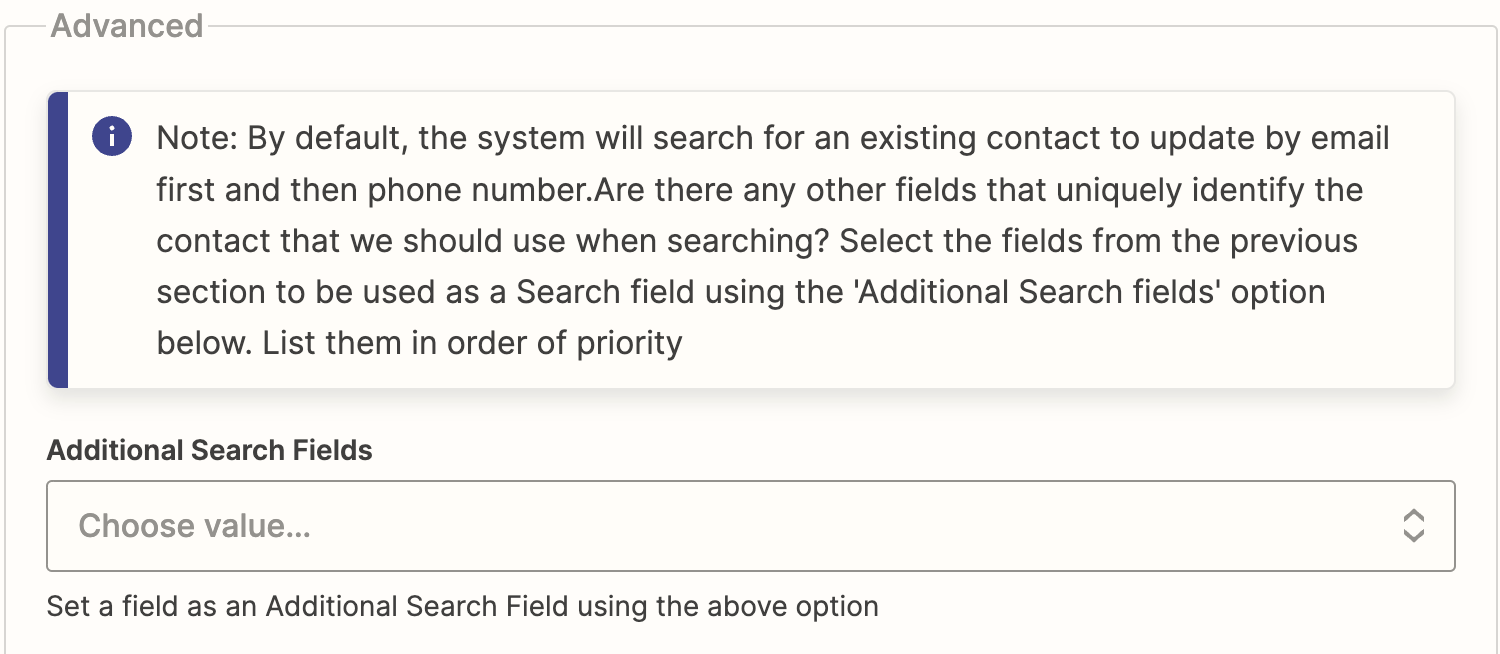
In the Advanced section, you have the option to refine your contact search. By default, the system searches for contacts by email first, then phone number. However, you can specify additional unique fields to identify contacts during the search.
To do this, use the Additional Search Fields dropdown. This allows you to select additional fields in order to perform the search operation. You can list these fields in order of priority for a more tailored search experience.
You can only select additional search fields from those present in the Fields to Create or Update section. If you want to use a new field, first add it using the Additional Fields option in the Fields to Create or Update section. After that, you can select it from the Additional Search Fields dropdown.
Step 9: How do I overwrite existing data?
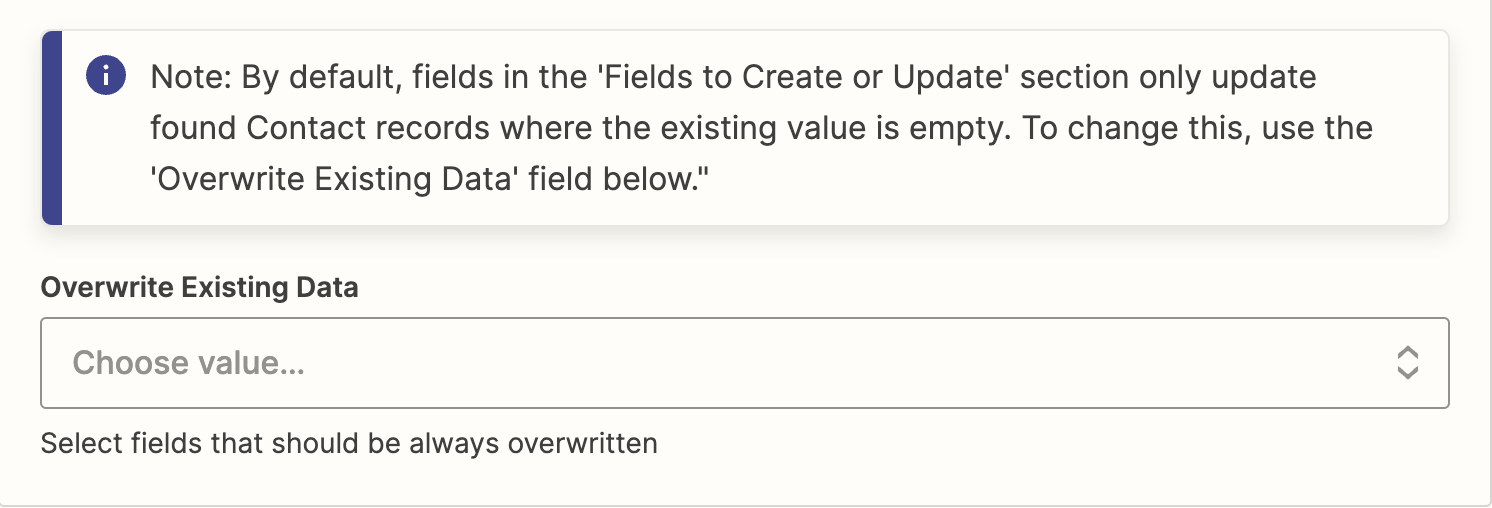
By default, only fields without any current value in the Fields to Create or Update section are updated. If you want to change this and overwrite existing data, use the Overwrite Existing Data option.
Click on the Overwrite Existing Data dropdown to select specific fields that you want to be always overwritten, regardless of whether they are empty or already contain data.
Overwriting existing data can be useful in certain scenarios, but it should be used with caution to avoid unintentional data loss.
Step 10: How do I associate a company with the contact?
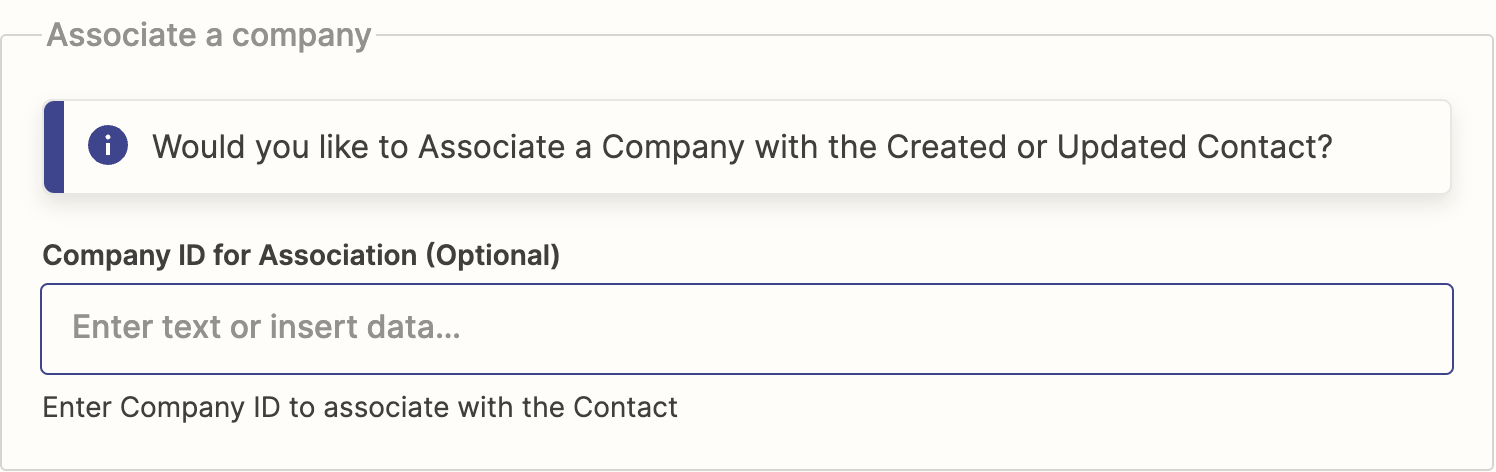
In this step, you have the option to associate a company with the contact you're creating or updating. If you wish to do this, enter the Company ID in the provided text box labeled Company ID for Association (Optional).
This is an optional step. If you don't have the Company ID at hand, you can leave it blank and proceed to the next step.
Step 11: How do I select return fields from the CRM?
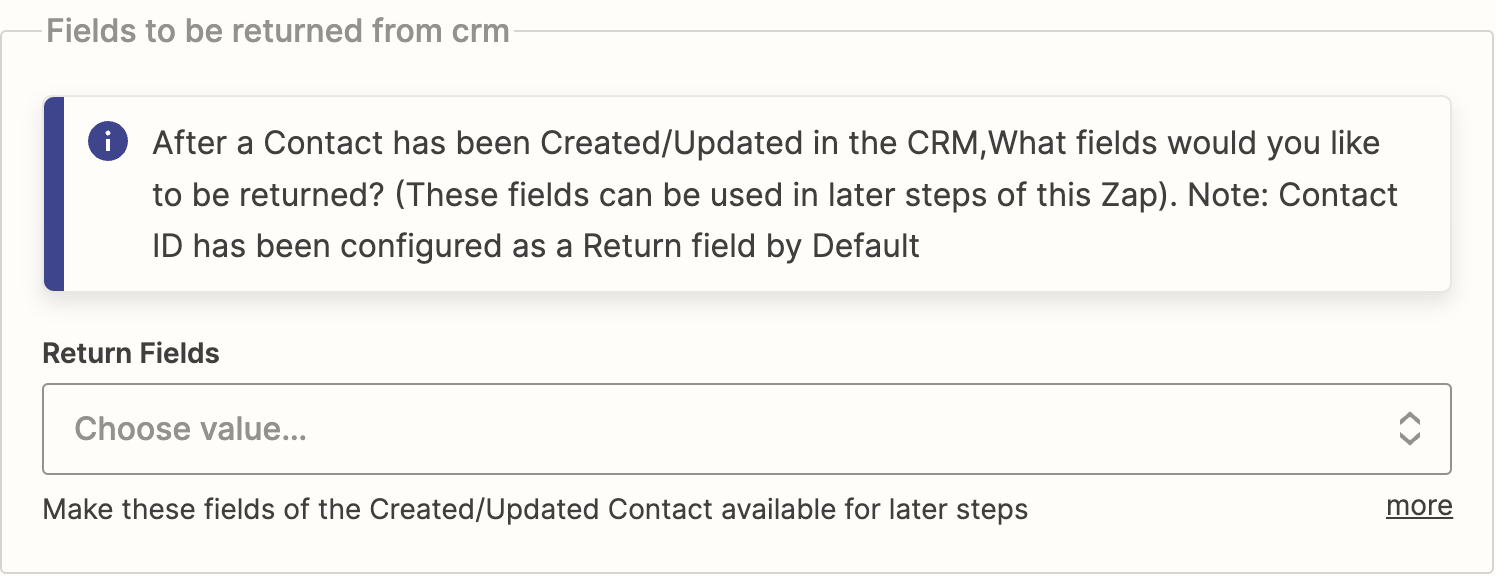
After a contact has been created or updated in the CRM, you can choose which fields you'd like to have returned. These fields can be used in later steps of this Zap.
To select the return fields, click on the dropdown menu under Return Fields and select the specific fields you want to be returned from the CRM.
The Contact ID is always included as a return field by default.
Frequently asked questions
Can I use Zapier to create or update contacts in the Vendasta CRM from an external system?
Yes. Use any app available in Zapier as the trigger, then choose the Vendasta app and its create or update contact action. Use the Additional Fields dropdown to add more contact fields to the Fields to Create or Update section.
Which ID do I use to sign in to the Vendasta app in Zapier?
Enter your Partner ID, or the Account ID of the client you're setting up Zapier for, and grant the requested permissions. The Organization ID is then filled in automatically based on the ID you signed in with.
How do I prevent Zapier from creating duplicate contacts?
Provide a value for at least one search field, such as Email or Phone Number. By default, the CRM searches for an existing contact by email first, then phone number, and you can add more search fields in the Advanced section.
Does Zapier overwrite existing contact data?
No, not by default. Only fields that are empty in the CRM are updated. To always overwrite specific fields, select them in the Overwrite Existing Data dropdown.
How do I link the contact to a company?
Enter the company's ID in the Company ID for Association (Optional) field. You can leave it blank if you don't want to associate a company.