Partner Center overview
What is Partner Center?
Partner Center is your gateway to Vendasta's powerful platform.
In Partner Center, you can:
- Manage your client accounts
- Manage users
- Start selling and activating products
- Set up your store
- Manage other admins
- Configure multi-location groups*
- Publish and track marketing campaigns*
- Create Acquisition Widgets*
- Manage orders*
- Manage salespeople and sales teams*
- Manage fulfillment services for multiple clients*
- Customize your branding*
Certain features may only be available on select subscription levels.
All admins can access Partner Center via partners.vendasta.com.
Customize your domains
Custom domains are available for most paid subscriptions. Please refer to vendasta.com/pricing for more details on eligibility as per the subscription tiers.
When we set up your white label, we ask about your preferences for which URLs your customers, prospects, and salespeople see. There are two options: Default URLs and Custom URLs. You will typically choose to customize your domains if you already have a website and access to its DNS settings. If you want to maintain white-label for Sales teams in the Partner Center CRM, you will also need to customize your domains.
To customize your domains:
- Fill in this form to send us your domain preferences.
- Once you submit the form, we'll email you TXT and CNAME records, along with instructions on how to enter them into your DNS settings.
- After you've added the records to your DNS, we'll verify them and complete the setup.
Set up Partner Center (step-by-step)
This section walks you through everything you need to set up Partner Center for the first time, in the recommended order. Follow each step from top to bottom to ensure your account is fully ready for clients.
Table of Contents
- Access Partner Center
- Set Up the AI Chat Receptionist
- Install the Chat on Your Website
- Add Knowledge to Your AI
- Customize the Chat Experience
- Set Up Vendasta Payments
- Configure Default Billing Settings
- Set Up Email Sending
- Create Your Booking Link
- Add Team Members
- Complete Your Salesperson Profile
- What to Do Next
- FAQs
Step 1: Access Partner Center
- Go to
https://partners.vendasta.com - Log in using your Vendasta credentials
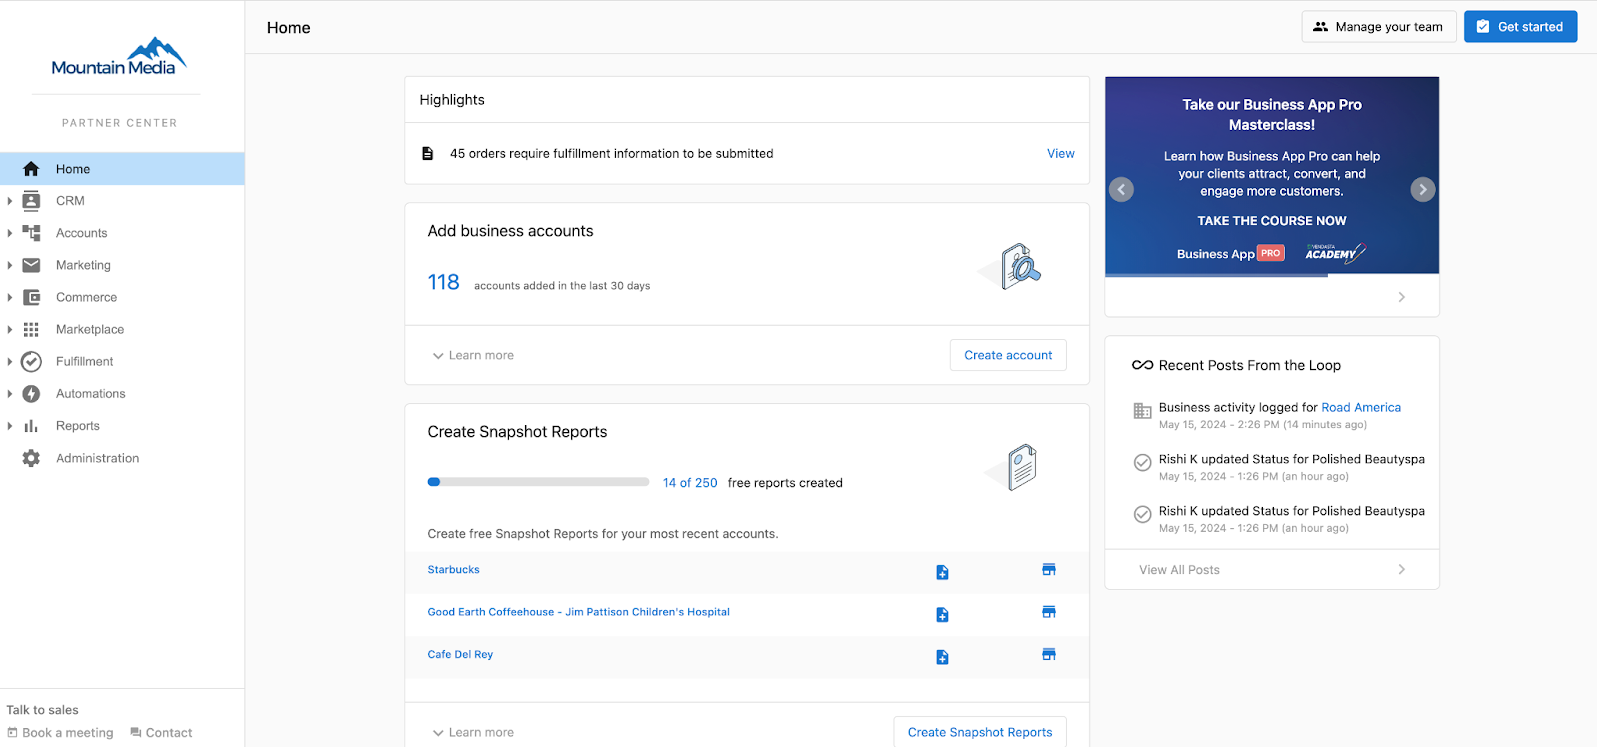
- You will land on your Partner Center dashboard
Your main navigation menu is on the left-hand side. You will use this menu throughout the setup process.
Step 2: Set Up the AI Chat Receptionist
The AI Chat Receptionist lives on your website and:
- Answers visitor questions
- Captures names, emails, and phone numbers
- Automatically saves leads to your CRM
How to Access the AI Chat
- In the left-hand menu, click
AI - Select
AI Workforce - Click AI Chat Receptionist
- Click
Configure
Configure the Chat
On the configuration screen:
- Name your chat (recommended: leave the default)
- Upload an image (optional)
- Leave the Purpose and Behavior settings as-is
Vendasta provides a default setup that works out of the box.
Click Save.
Step 3: Install the Chat on Your Website
- Scroll to the Channels section
- Click
Set up or respond to Web Chat - Customize:
- Welcome message (optional)
- Initial AI message (optional)
- Brand colors (recommended)
Click Next.
Install the Chat Widget
- Select your website platform (e.g. WordPress)
- Download the plugin or installation code
- Install it on your website
Once installed, the chat will appear on your site automatically.
Step 4: Teach Your AI About Your Business
Your AI needs to understand your business to answer questions accurately.
Add Website Knowledge
- In the Chat configuration screen, scroll to Knowledge
- Click
Add Knowledge - Select
Website - Enter your website URL
- Change Mode to
Follow Links - Enable Automatic Refresh
- Click
Next - Click
Save
Your AI will scan your site in the background and update itself when your website changes.
Step 5: Customize the Chat Experience
- Scroll back to the Channels section
- Review the chat preview
- Confirm branding and greeting
- Click
Save
Your AI Chat is now live and capturing leads.
Step 6: Set Up Vendasta Payments
Vendasta Payments allows you to:
- Accept credit and debit cards
- Automate billing
- Manage subscriptions
Create Your Payment Account
- Click
Administrationin the left-hand menu - Select
Commerce Settings - Click
Vendasta Payments - Click
Create New Account
A secure Stripe setup page will open in a new tab.
Complete all required fields. This includes:
- Business details
- Identity verification
- Bank account information
Do not share this screen.
Once completed, return to Partner Center.
Step 7: Configure Default Billing Settings
This ensures all new client accounts bill automatically.
- Go to
Accounts - Click
Manage Accounts - Open any account
- Select
Billing Settings - Click
View Default Billing Settings
Set the following:
- Payment Collection → Automatic
- Automatically Charge Payment Method on File → Enabled
Click Save.
These settings will apply to all new client accounts going forward.
Step 8: Set Up Email Sending and Domains
This step ensures emails you send do not land in spam.
Configure Sender Details
- Go to
Marketing - Click
Email Settings - Set:
- Sender Name → Your business name
- Reply-To Address → Your business email
Click Save.
Authorize Your Domain
- In
Email Settings, scroll to Domains - Enter your domain (example:
yourbusiness.com) - Click
Authorize Domain
This will generate:
- 1 DMARC record
- 1 SPF record
- 3 CNAME records
These records must be added to your domain for email verification.
Step 9: Create Your Booking Link and Connect Your Calendar
Vendasta includes built-in scheduling.
- Go to
CRM - Click
My Meetings - Click
Set Up
Connect Your Calendar
- Choose
Sign in with Google - Select your primary calendar
- Grant permissions
- Click
Continue
Configure Availability
- Confirm your time zone
- Set business hours
- Click
Complete Setup
You will receive a booking link that can be shared or embedded.
Step 10: Add Team Members and Roles
Professional plans allow up to five users.
- Go to
Administration - Click
My Team - Click
Add User - Enter:
- Name
- Role
Role Types
| Role | Access Level |
|---|---|
| Admin | Full access |
| Salesperson | CRM, billing, conversations |
| Digital Agent | Task management |
Click Send Invite.
Step 11: Complete Your Salesperson Profile
Your profile appears to clients inside their dashboard.
- Go to
Administration - Click
My Team - Click the three dots next to your name
- Select
Edit Salesperson
Add:
- Profile photo
- Phone number
- Booking link
Click Save.
What to Do Next
You are now ready to:
- Capture leads from your website
- Accept payments
- Book meetings automatically
- Onboard your first clients
Your next step is to:
- Create client accounts
- Activate products
- Begin selling and delivering services
Frequently Asked Questions (FAQs)
Can I start accepting payments immediately?
Yes. Your first transaction may take longer to deposit. After the first payout clears, deposits typically take 1-2 business days.
Can I change any of these settings later?
Yes. All settings in Partner Center can be updated at any time.
Do I need technical knowledge to complete this setup?
No. This guide is designed for non-technical partners and walks you through each step.