Customer experience
This page covers what customers see and do in your Public Store — from creating an account and browsing to purchasing, plus how to configure auto-assignment and troubleshoot common issues.
Customer account management
Customers can interact with your Public Store in multiple ways depending on your configuration:
- Embedded Sign-In – Top-of-store authentication for existing customers
- Checkout Authentication – Required sign-in during purchase process
- New Account Creation – Streamlined account setup for prospects
New account creation
Customers without existing accounts can create accounts through two methods:
Automatic business lookup
- Customer clicks Create an Account
- Enters email address and searches for their business
- Account is created automatically if the business is found
- Manual creation option available if business is not found
Manual account creation
Required information:
- Email address and full name
- Business name and category
- Complete address (country, street, city, state, postal code)
- Business phone number
After account creation
- Password setup email is sent to the customer
- Full Business App access is granted upon password configuration
- Shopping cart contents are preserved during account creation
- Automatic salesperson assignment occurs if configured
Auto‑assignment and lead management
Automatically assign new accounts created through your Public Store to sales team members:
- Navigate to Partner Center → Marketplace → Manage Store → Contact Form
- Select a salesperson from the dropdown menu
If no salespeople appear in the dropdown, verify salesperson setup in the account or selected market.
New accounts follow the same auto-assignment rules as Partner Center account creation, including email campaign enrollment and territory-based assignment.
Contact form and lead capture
The contact form captures prospect information and routes inquiries to the appropriate team member. Configure salesperson assignment and automatic notifications in Manage Store → Contact Form.
Product visibility
For individual products to appear in your Public Store:
- The product must be enabled via Start Selling in Marketplace → Discover Products
- The product must be available in the target market
- The ALL category must be enabled in Manage Store → Categories
Troubleshooting
Product not appearing in store
Check product enablement
- Navigate to Marketplace → Discover Products
- Search for the missing product
- Confirm the Start Selling button shows "Selling" (greyed out)
- Enable the product if not already selling
Check market availability
- Navigate to Marketplace → Products
- Review the "Available in Store" section in the product Overview tab
- Verify the product is enabled for the correct market
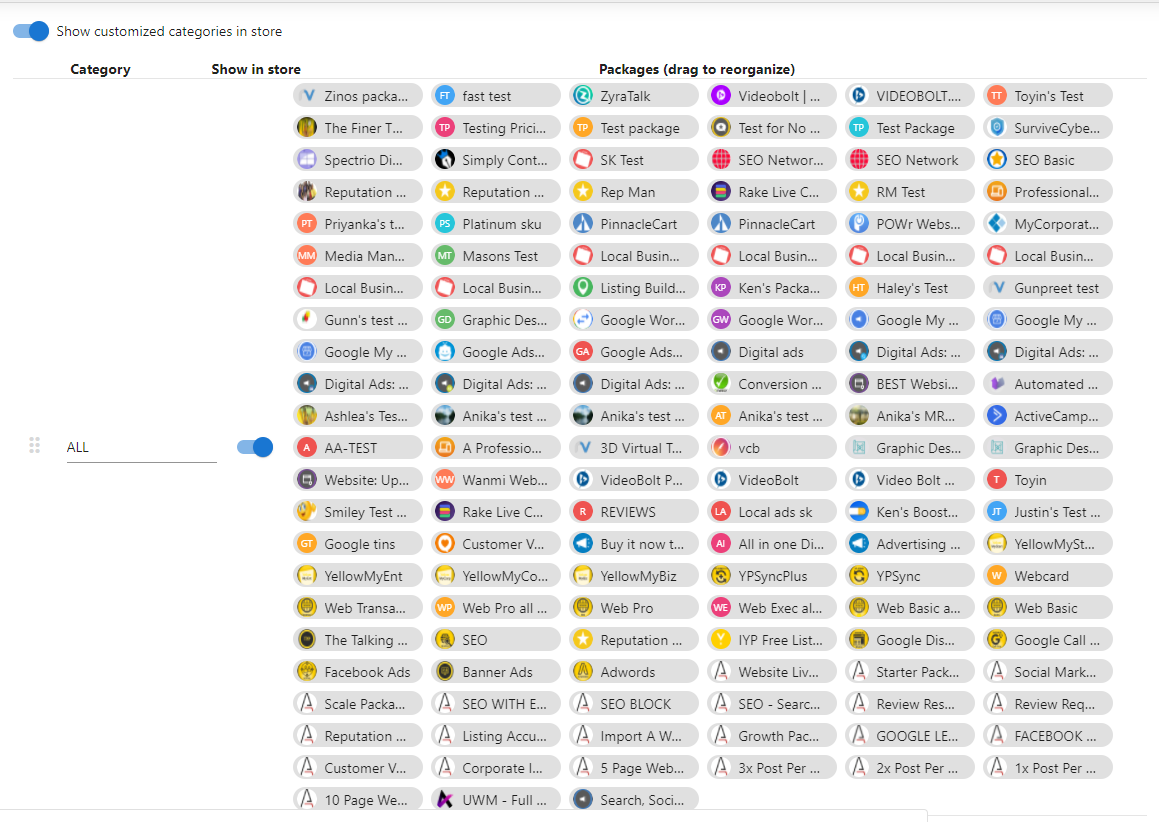
Check category configuration
- Navigate to Marketplace → Manage Store
- Expand the Categories section
- Confirm the ALL category is enabled
Individual products not in packages do not appear in Categories and cannot be reorganized via the ALL category.
Sign-in and account issues
- Sign-in problems – Confirm the customer account exists and is properly configured; provide password reset assistance if needed
- New account creation – Assist with manual creation when automatic business lookup fails; verify password setup emails are not blocked
- Account linking – Ensure proper connection between Public Store and Business App accounts
Embedded store not displaying
- Verify the embed code is copied fully and placed in the correct location on your website
- Test different themes or remove conflicting website styles and scripts
- Check across browsers and devices to rule out environment-specific issues
- Escalate to support if problems persist
Data sync issues between Public Store and Business App
- Verify data consistency for the affected account
- Check sync processes and try a manual sync if available
- Confirm user permissions and access levels are correct
- Contact support if inconsistencies continue